
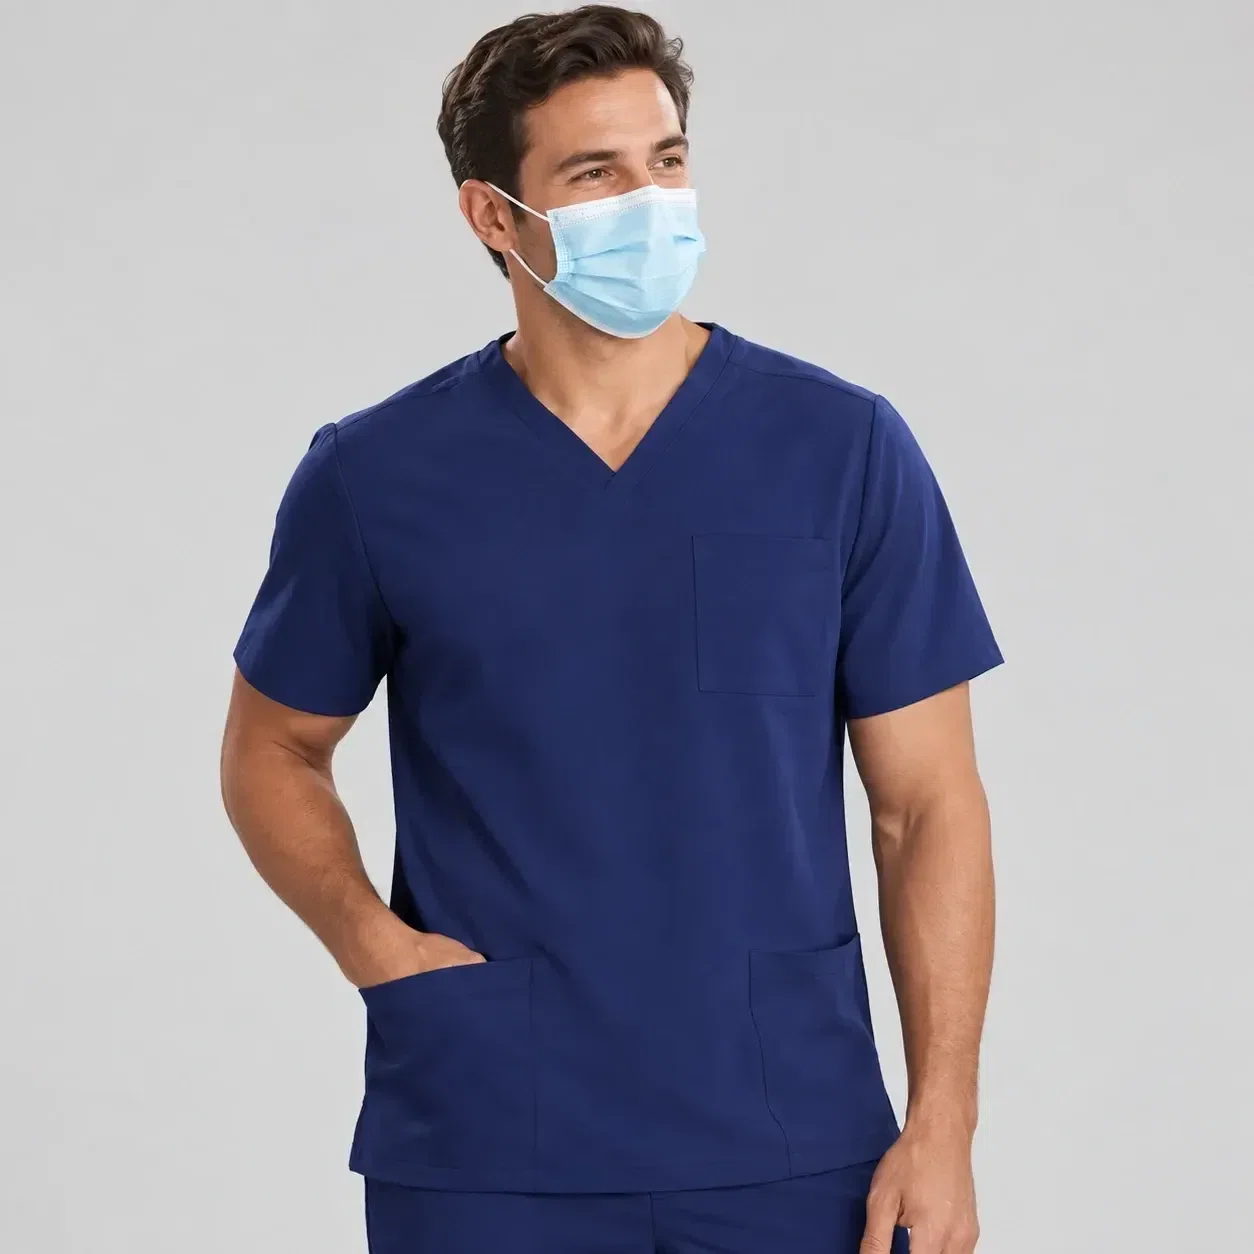
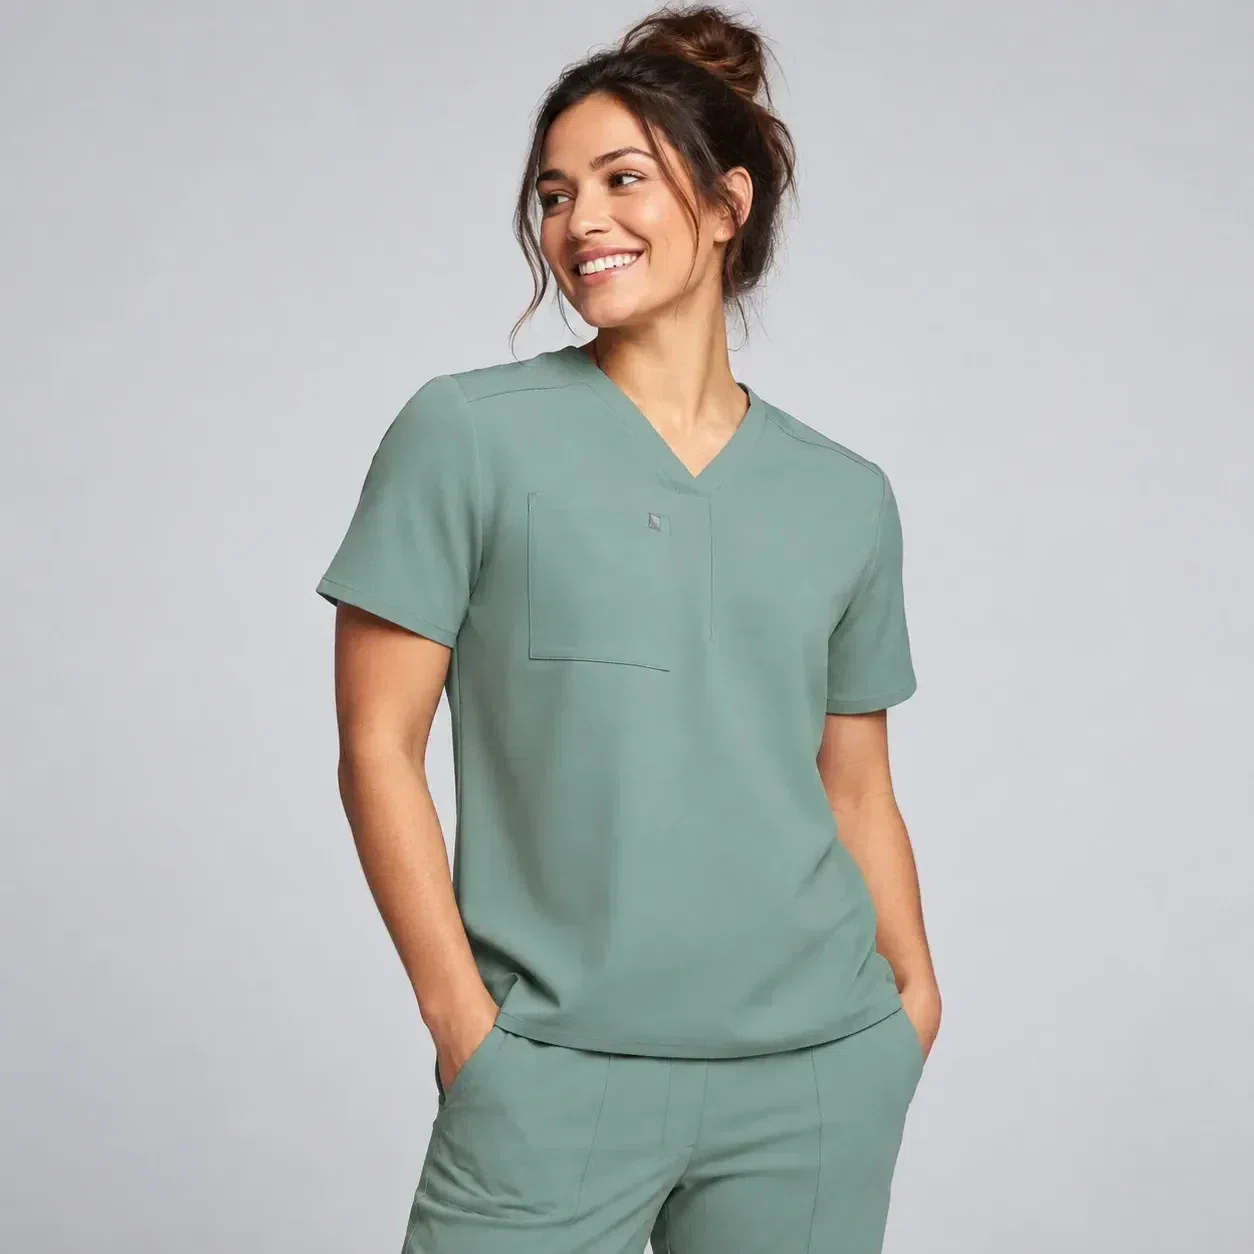
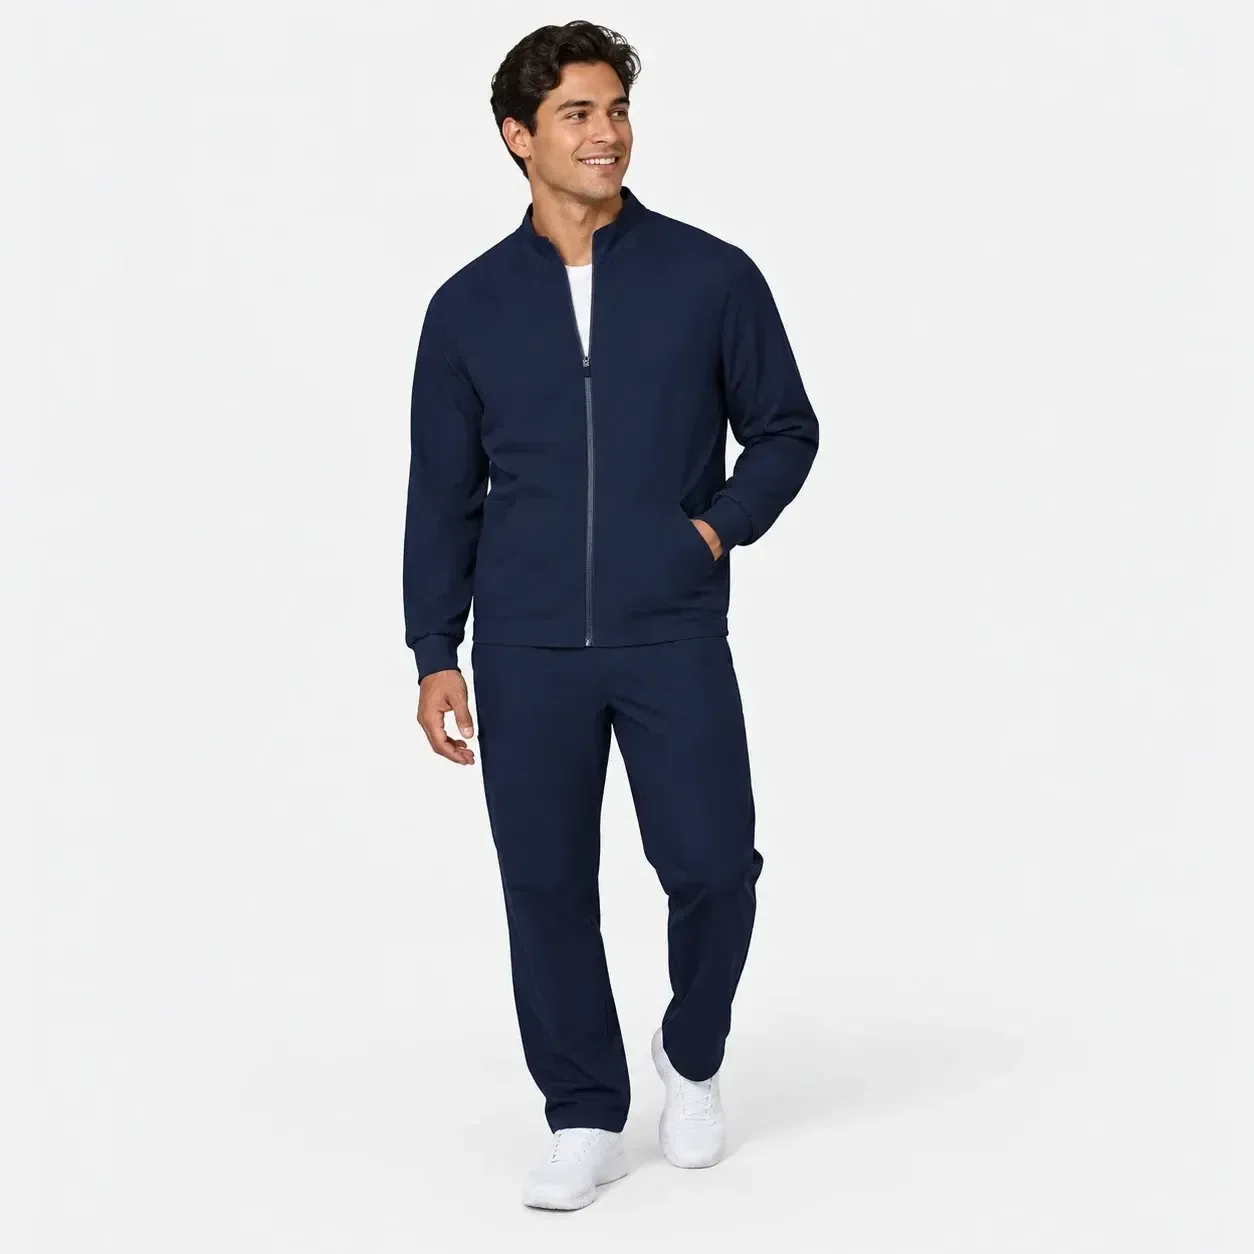
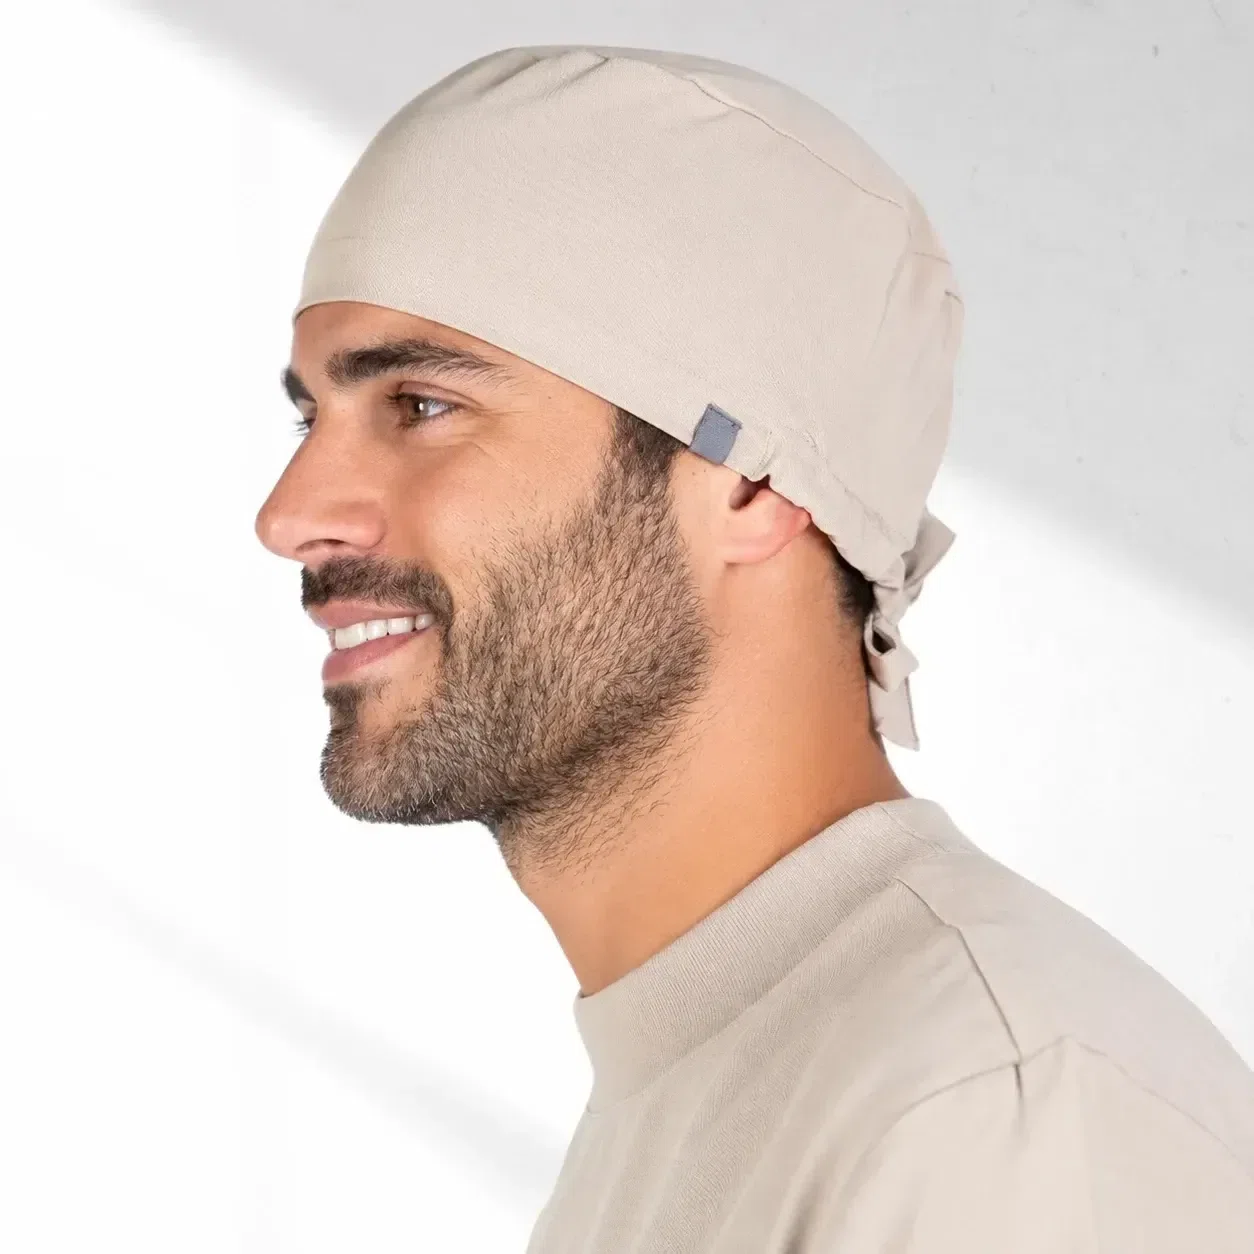





What to include in your healthcare uniform order
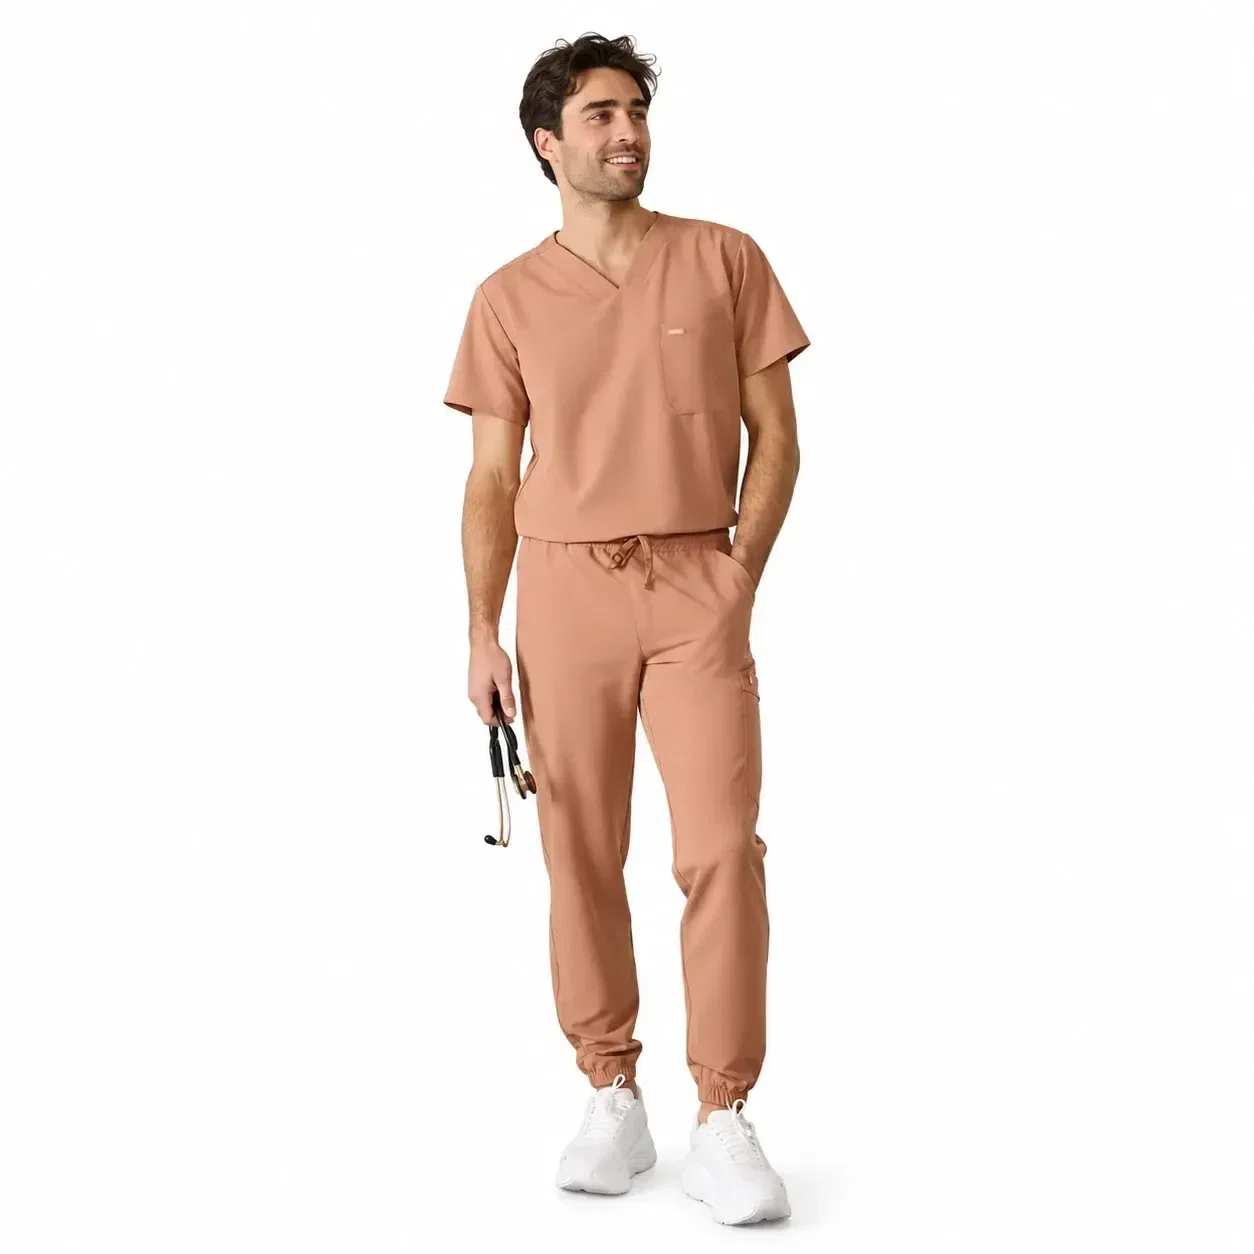
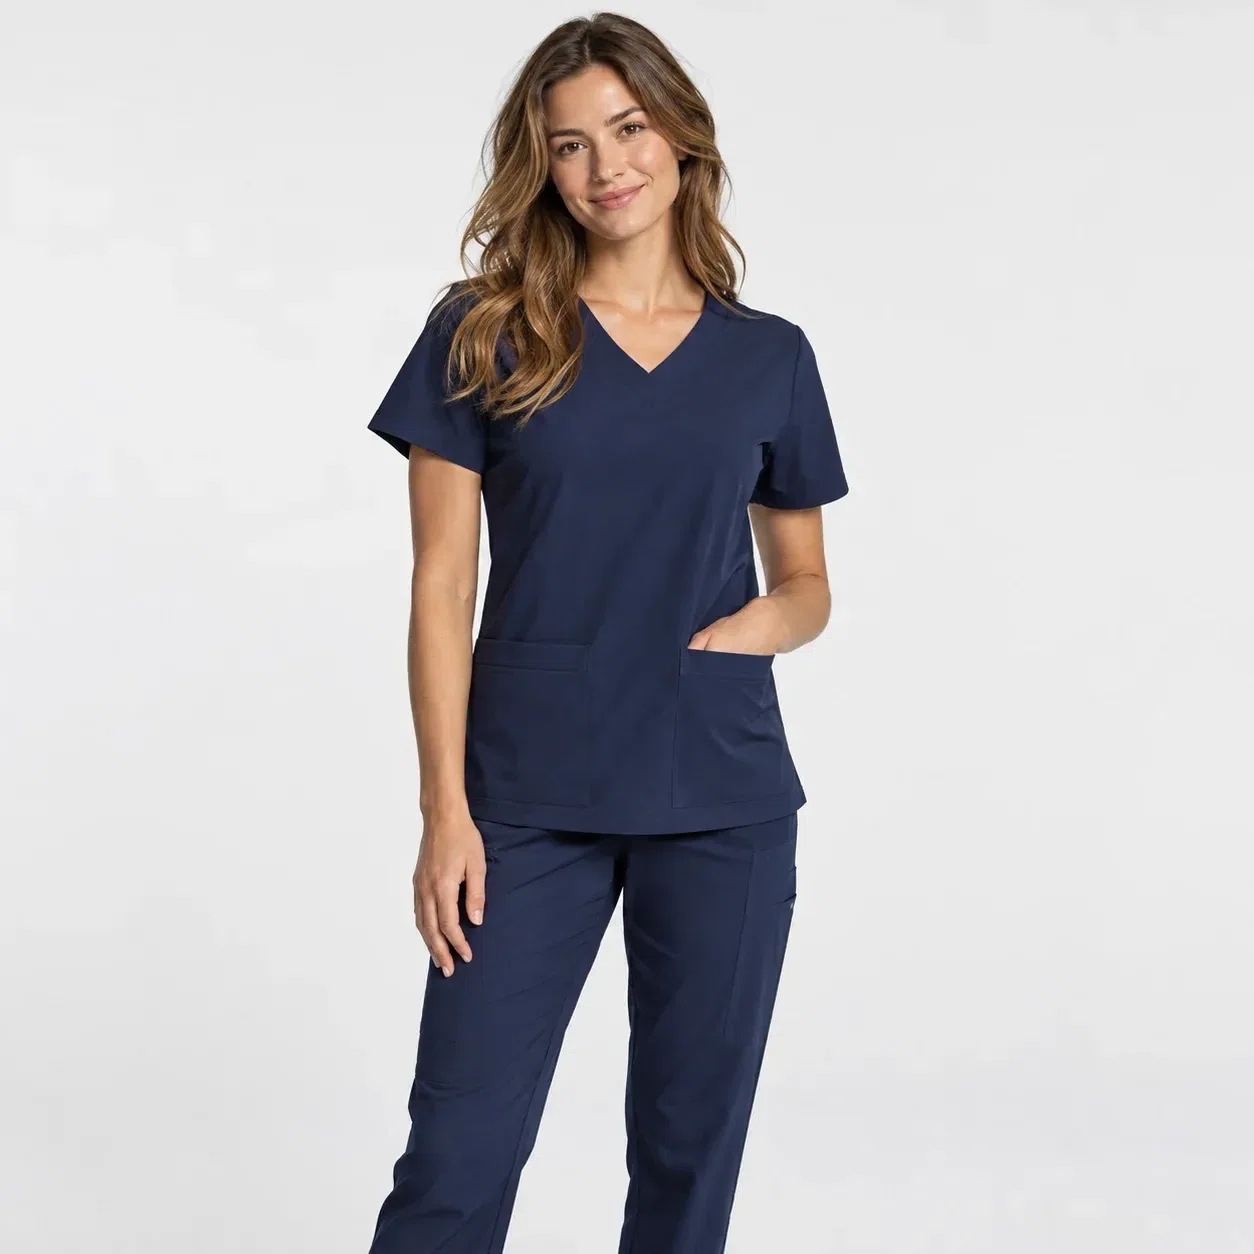
List scrubs, lab coats and nursing apparel by staff role, with separate quantities, colours and sizes for each garment. Count tops and trousers separately where needed. Confirm the selected product's size chart before collecting the final team breakdown.
Embroidery, screen printing, sublimation and other customization can be considered for the selected garment and design. Review a mockup for logo placement and spelling before production. Check the custom medical scrub range for product options and confirm exact material composition from the product specification.
Delivery is usually around one to two weeks as an estimate, subject to confirmation for your order and destination. The quote identifies whether StitchBase or the buyer pays duties and taxes. Full payment is required in advance; bank wire is preferred, with Western Union and MoneyGram available for smaller payments. References are available on request without publishing client identities. See shipping information or request a clinic quote.
Choose garments before assigning colours
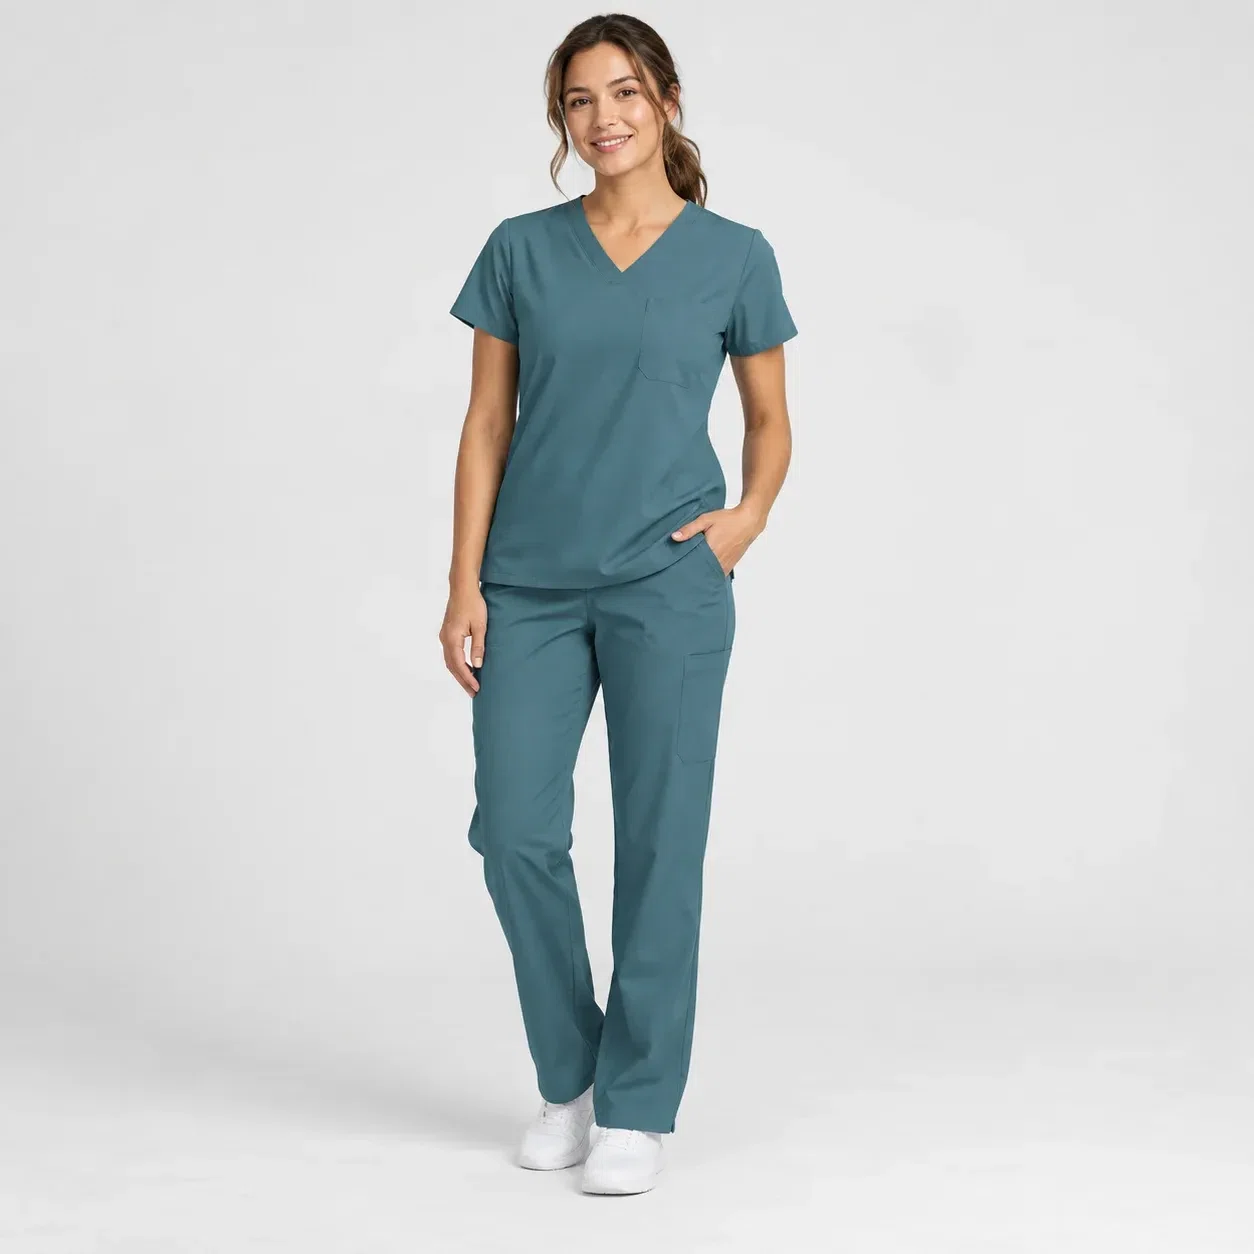
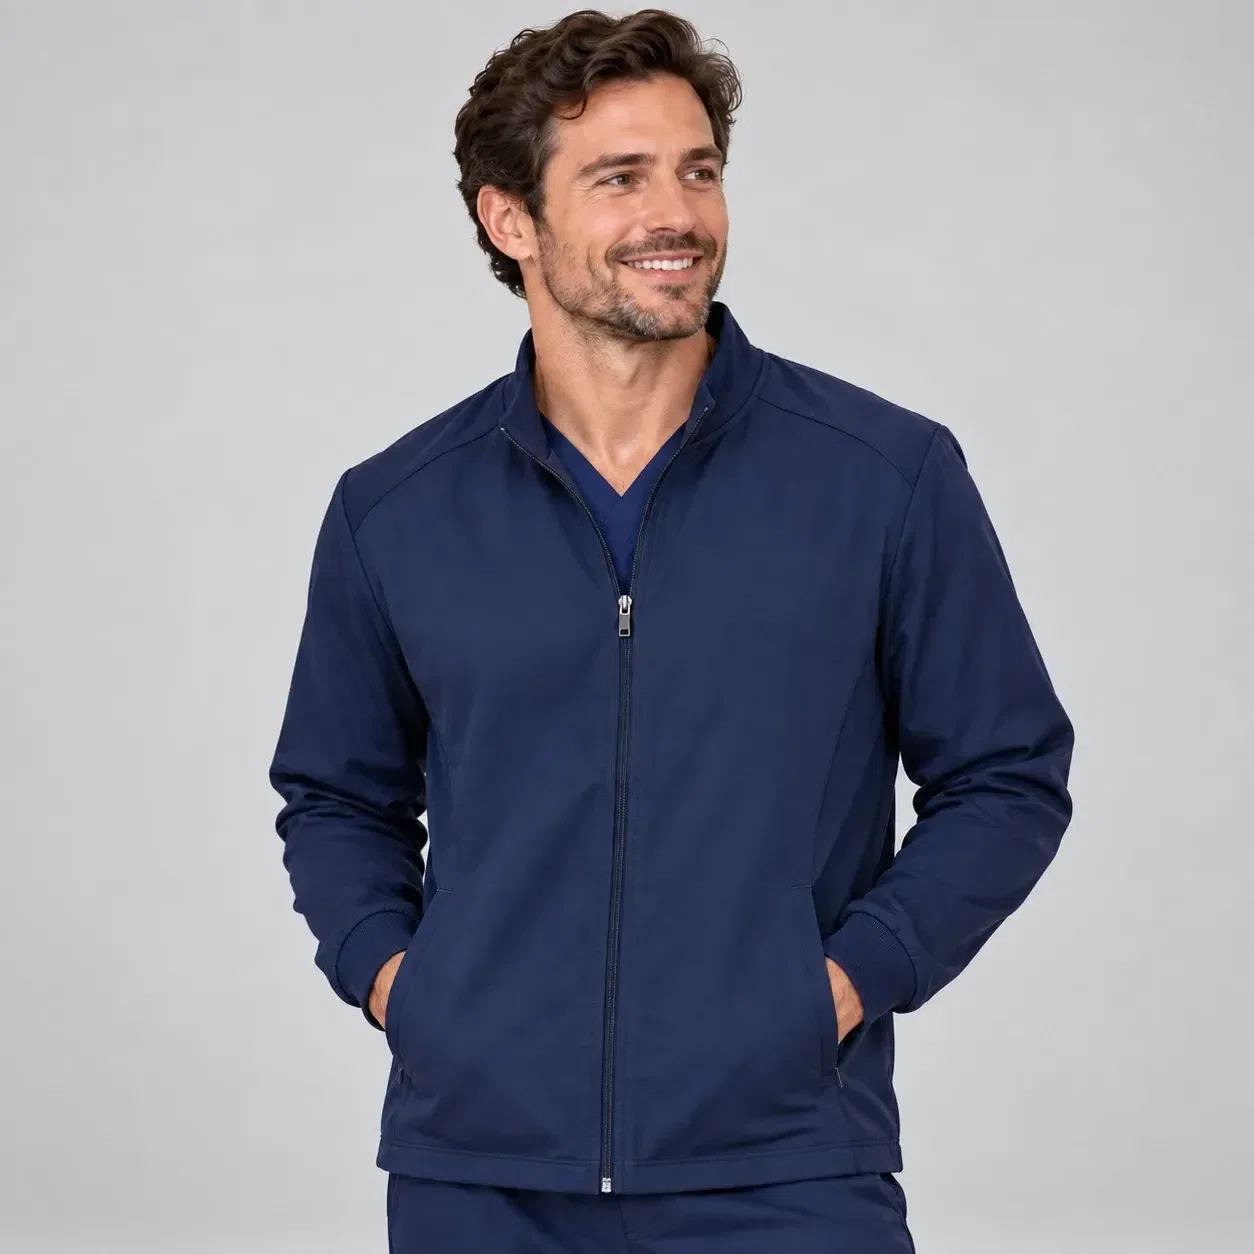
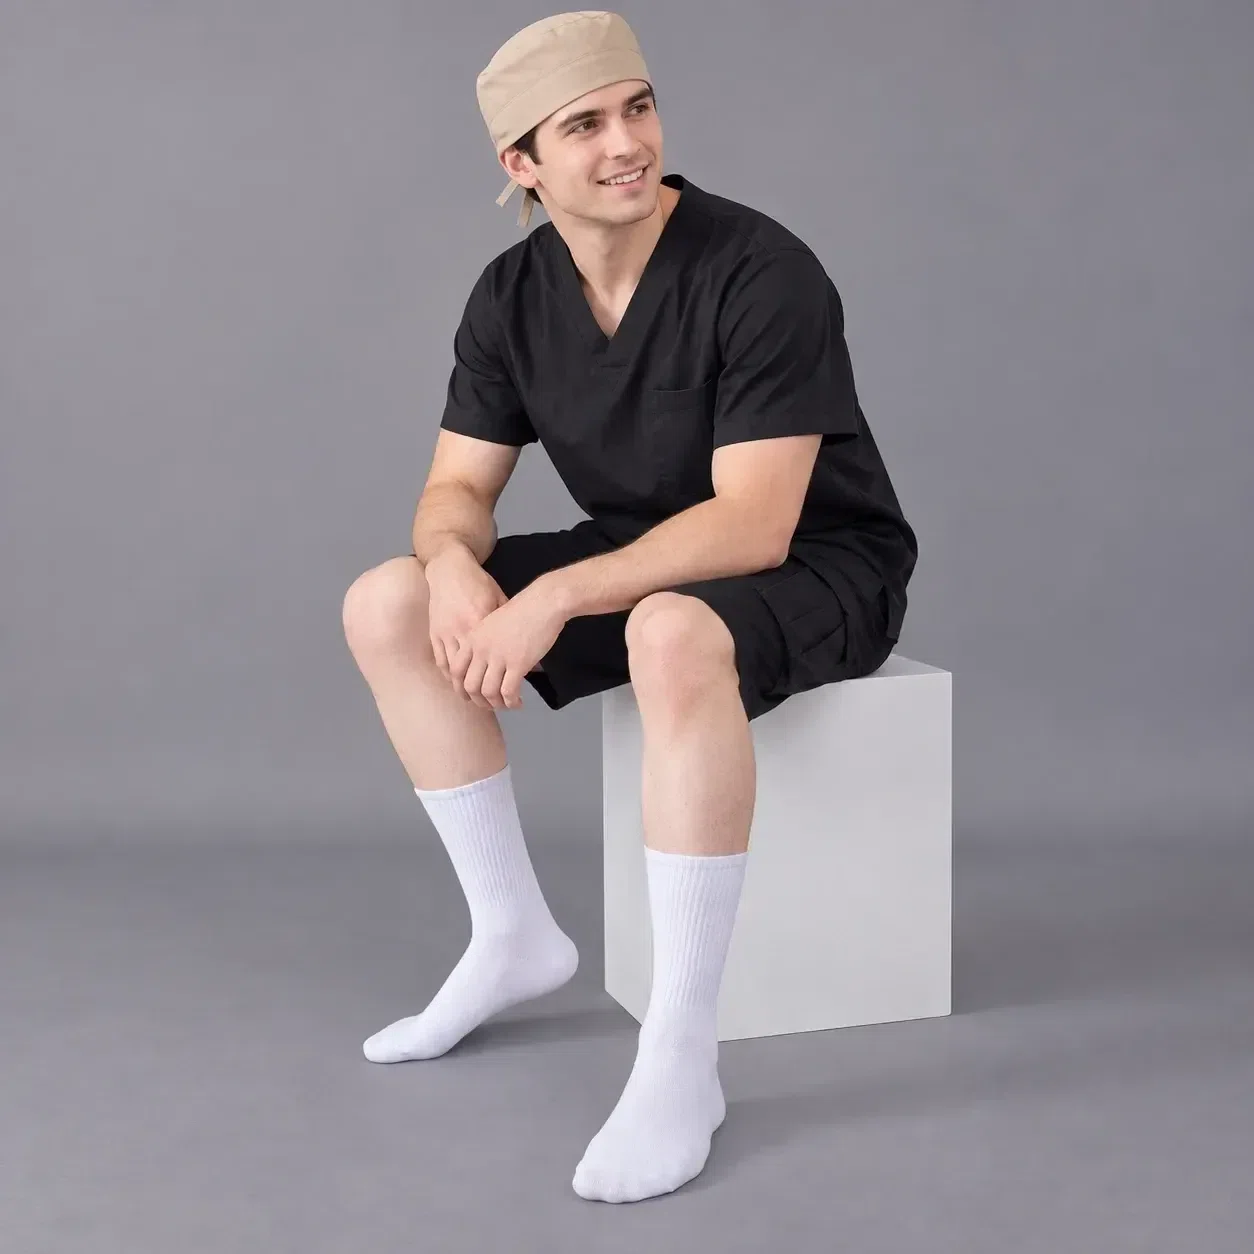
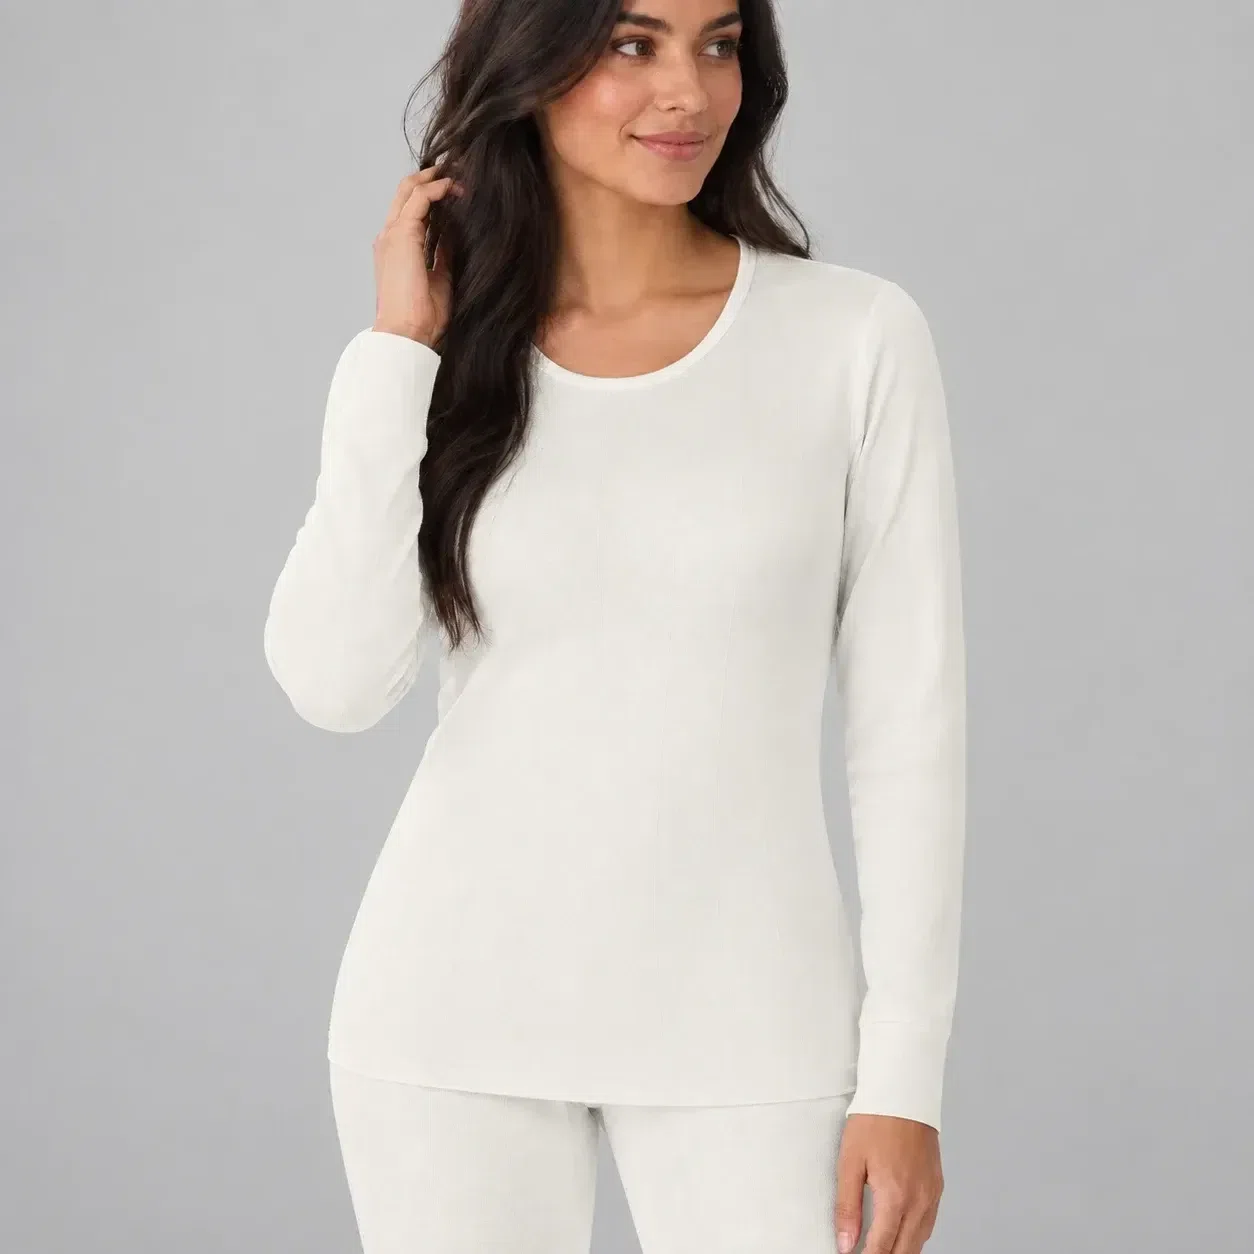
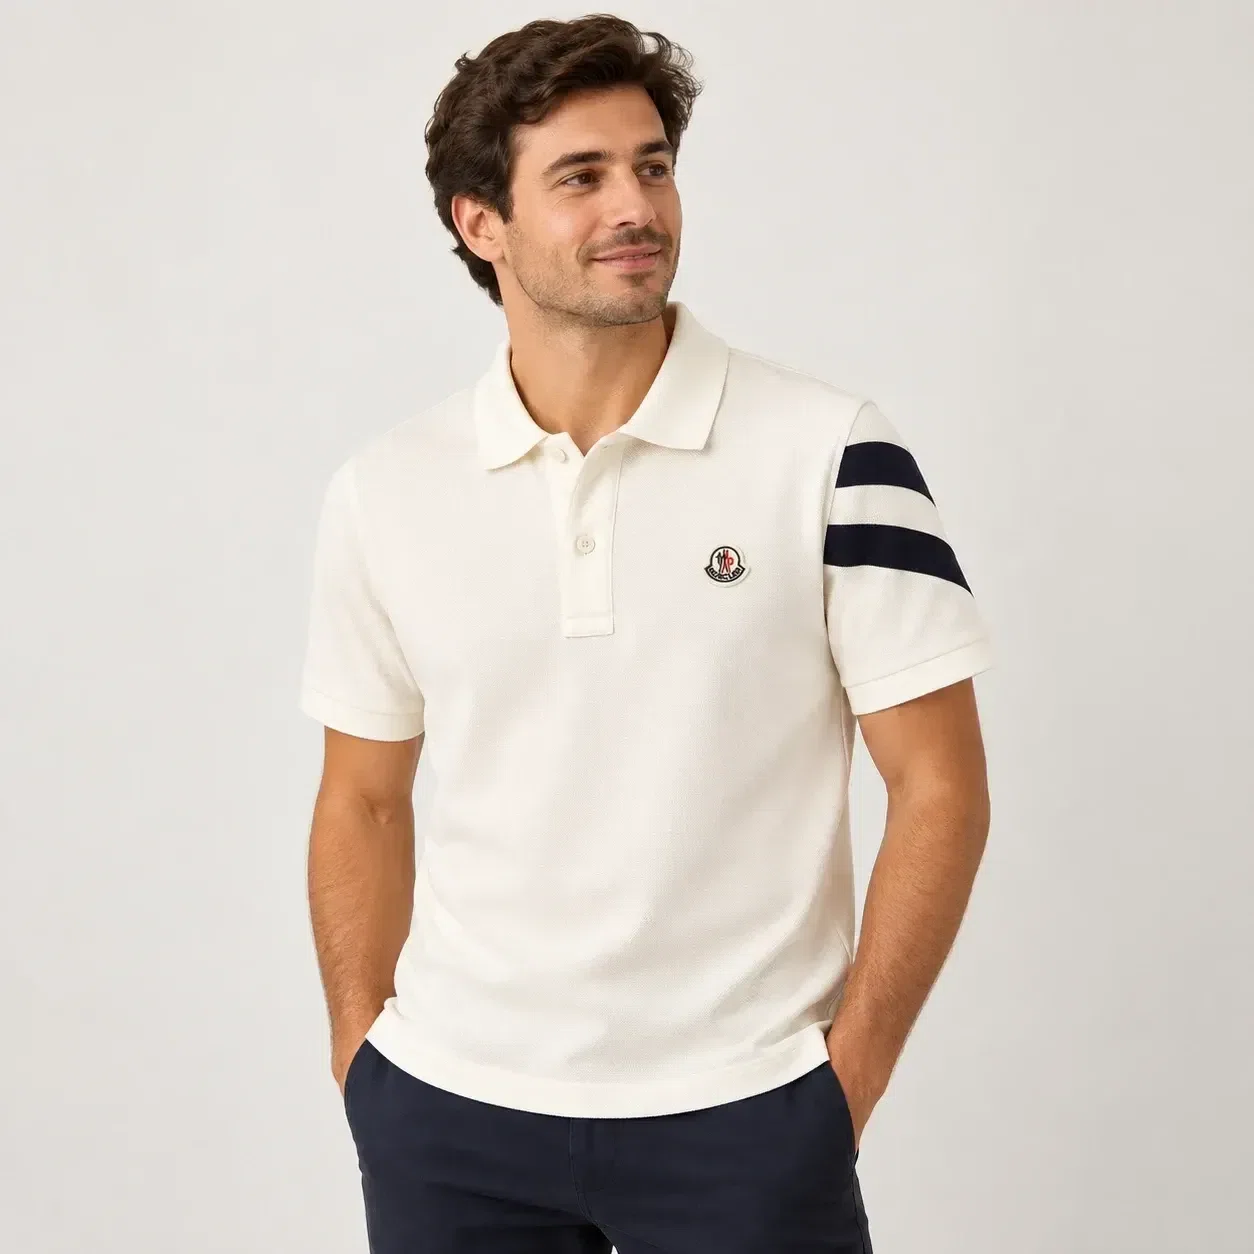
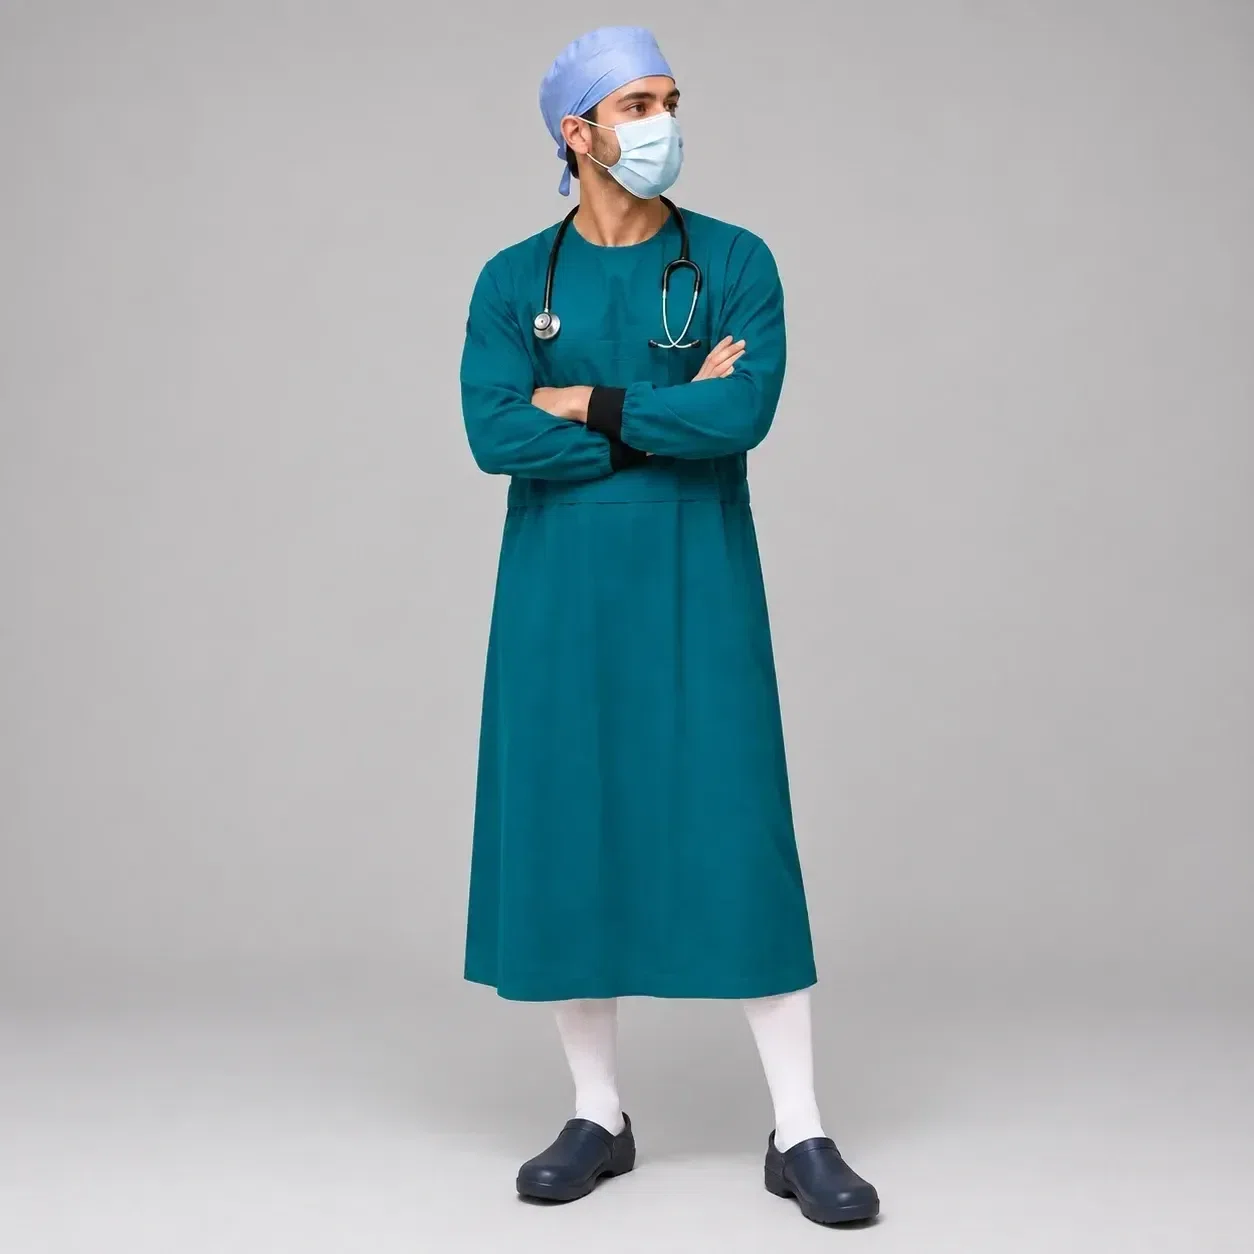
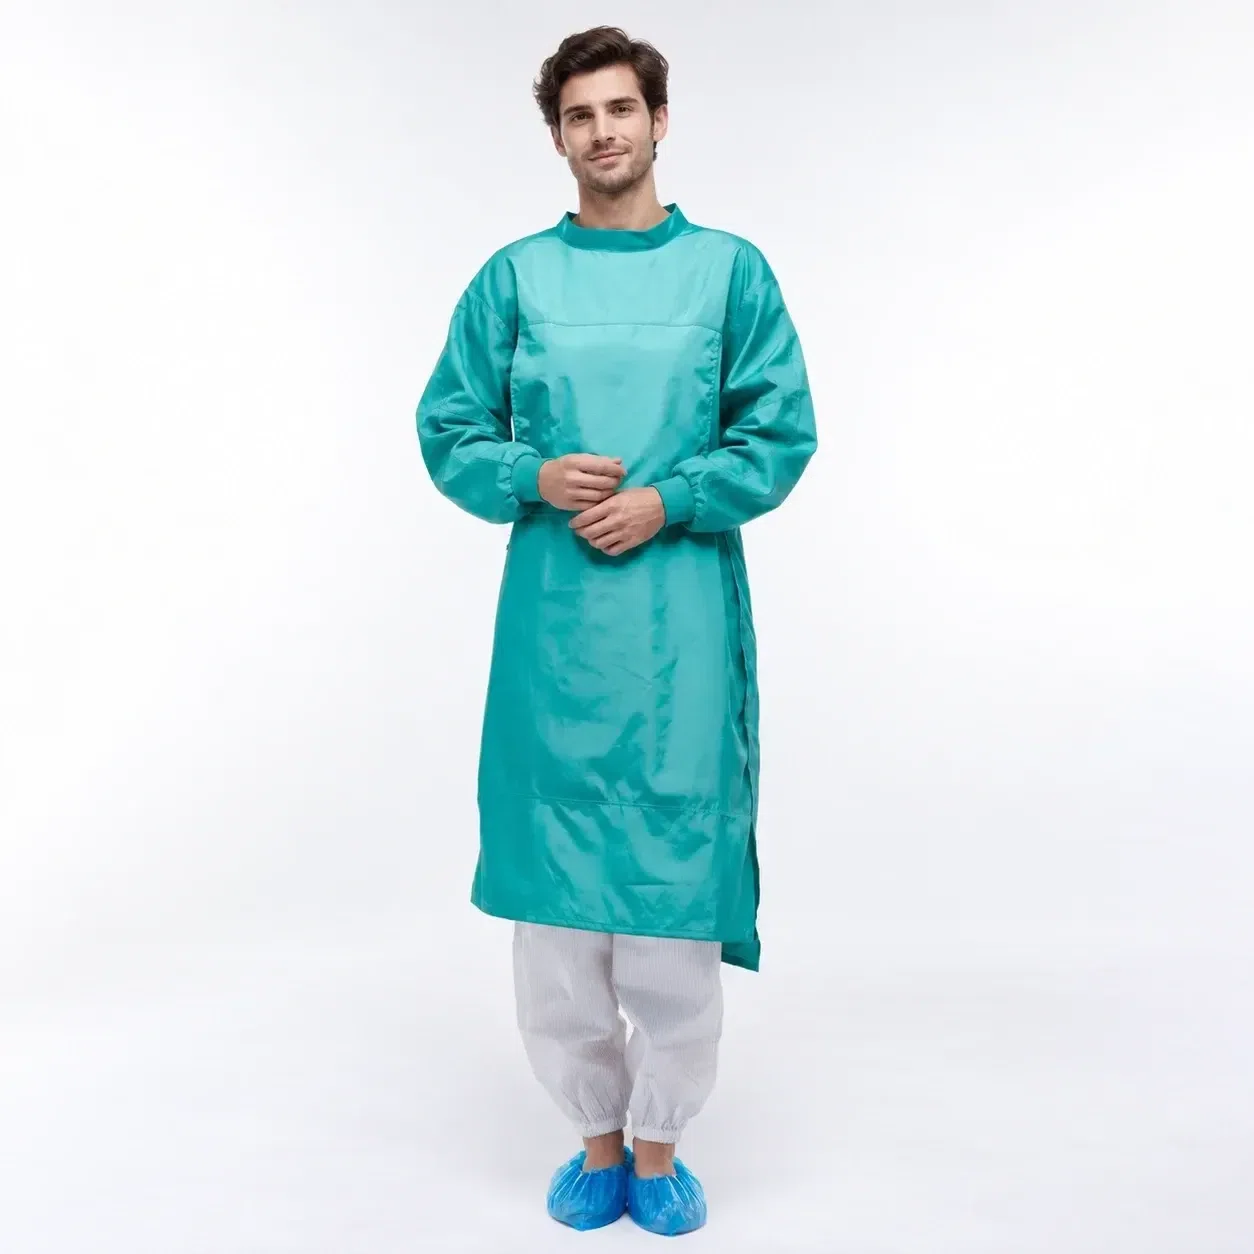
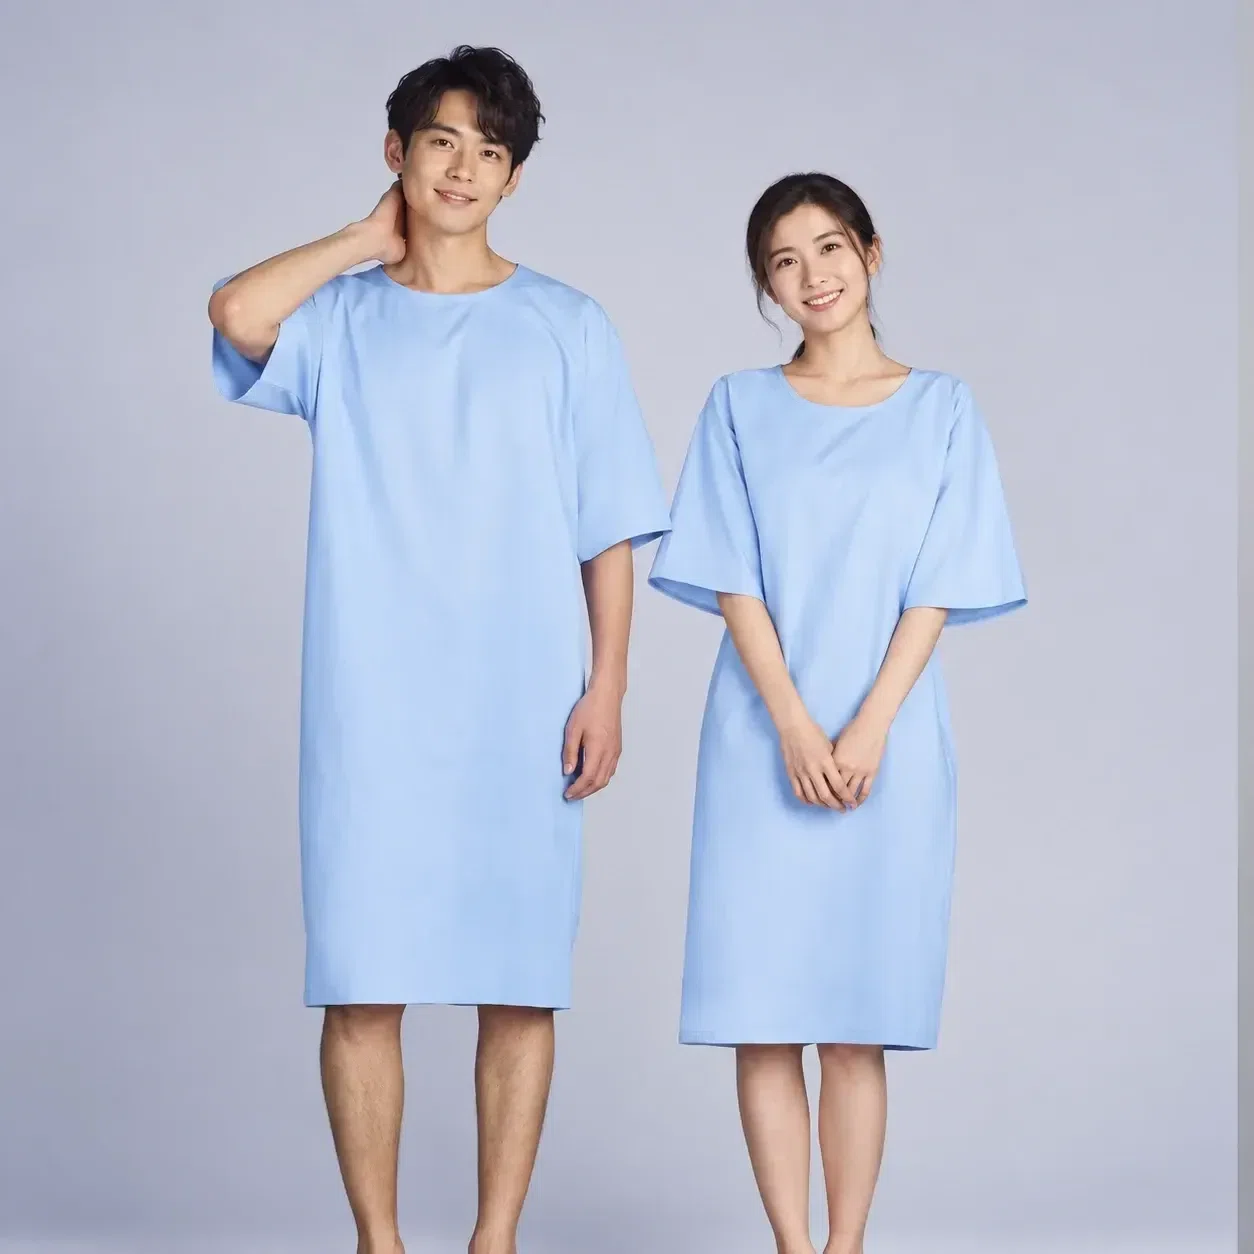
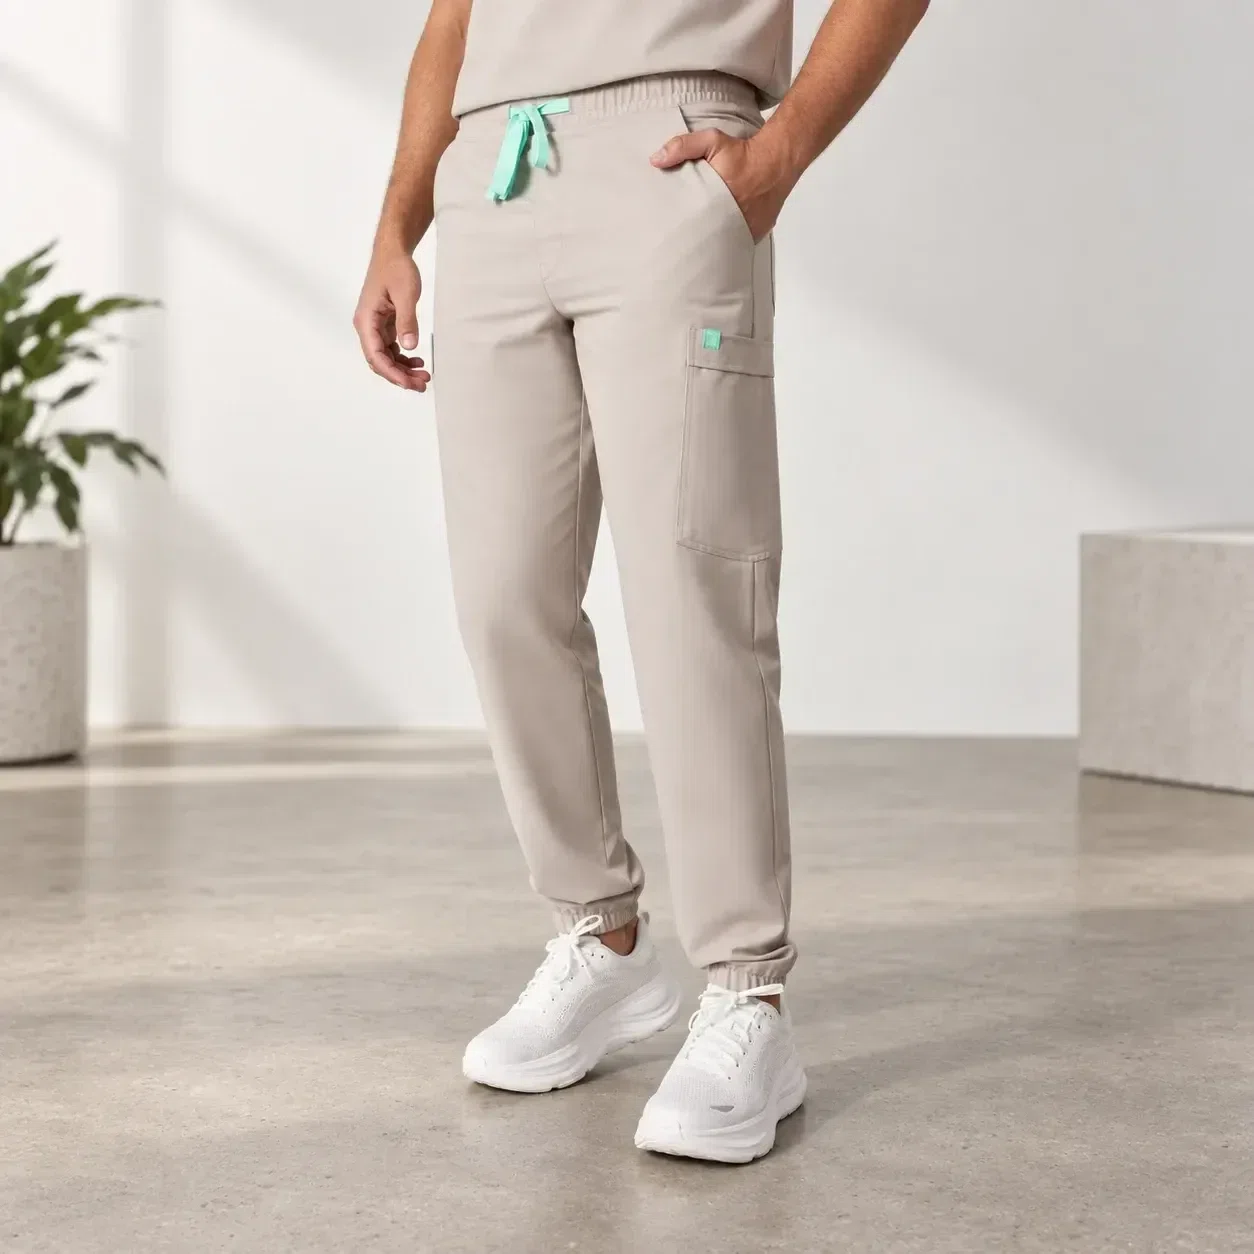
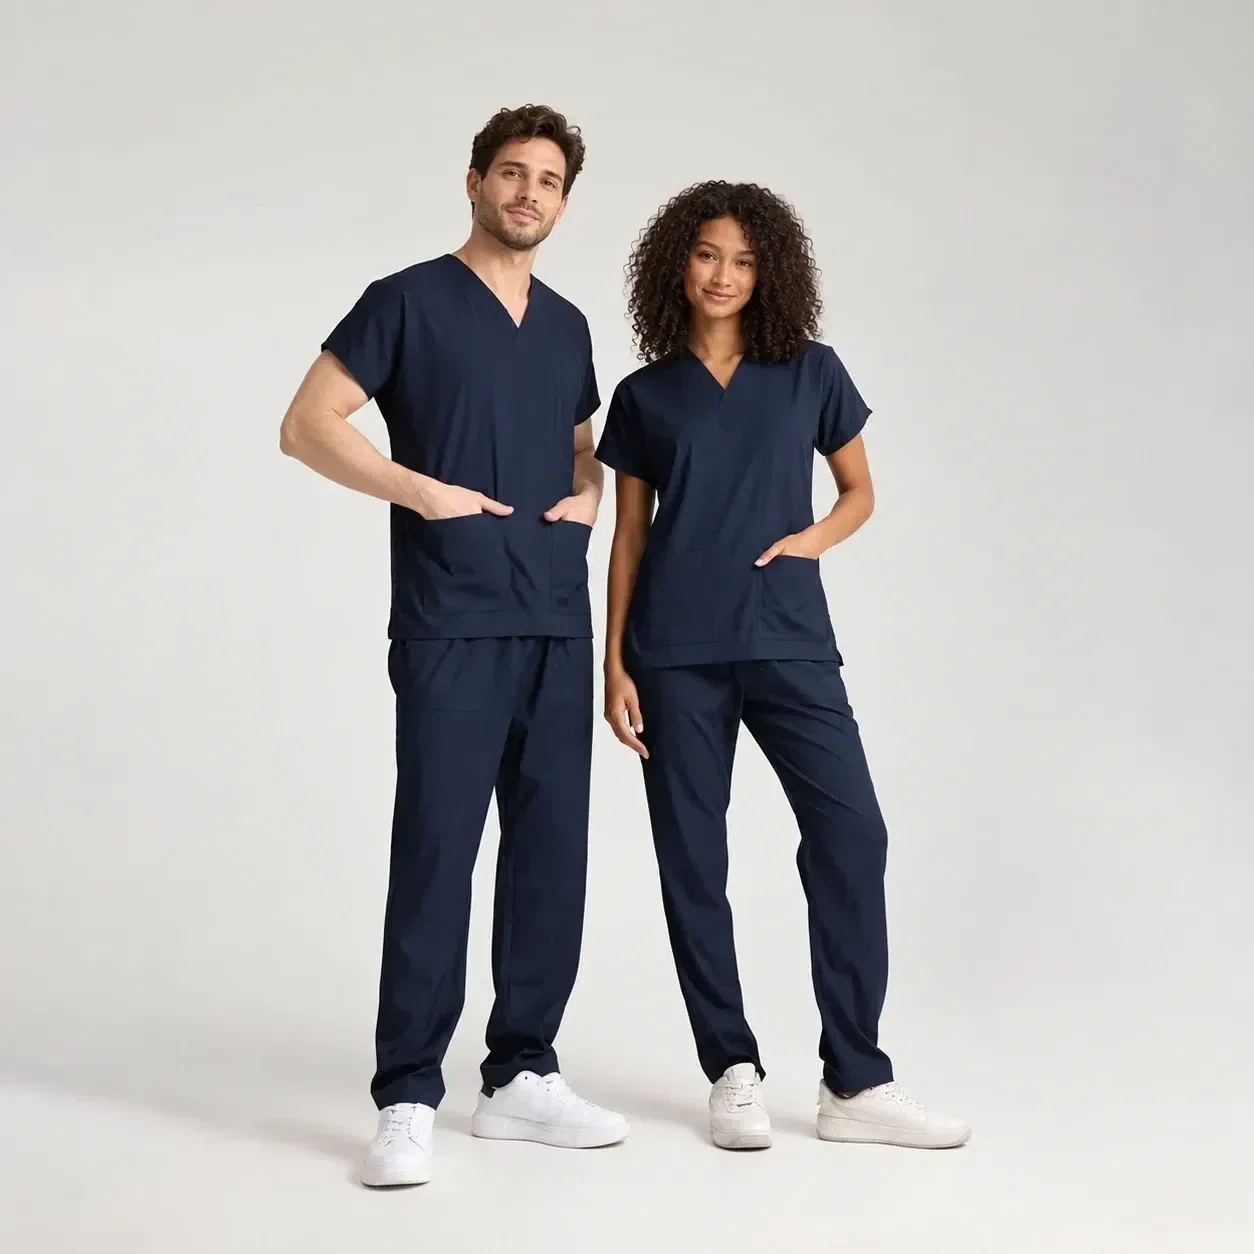
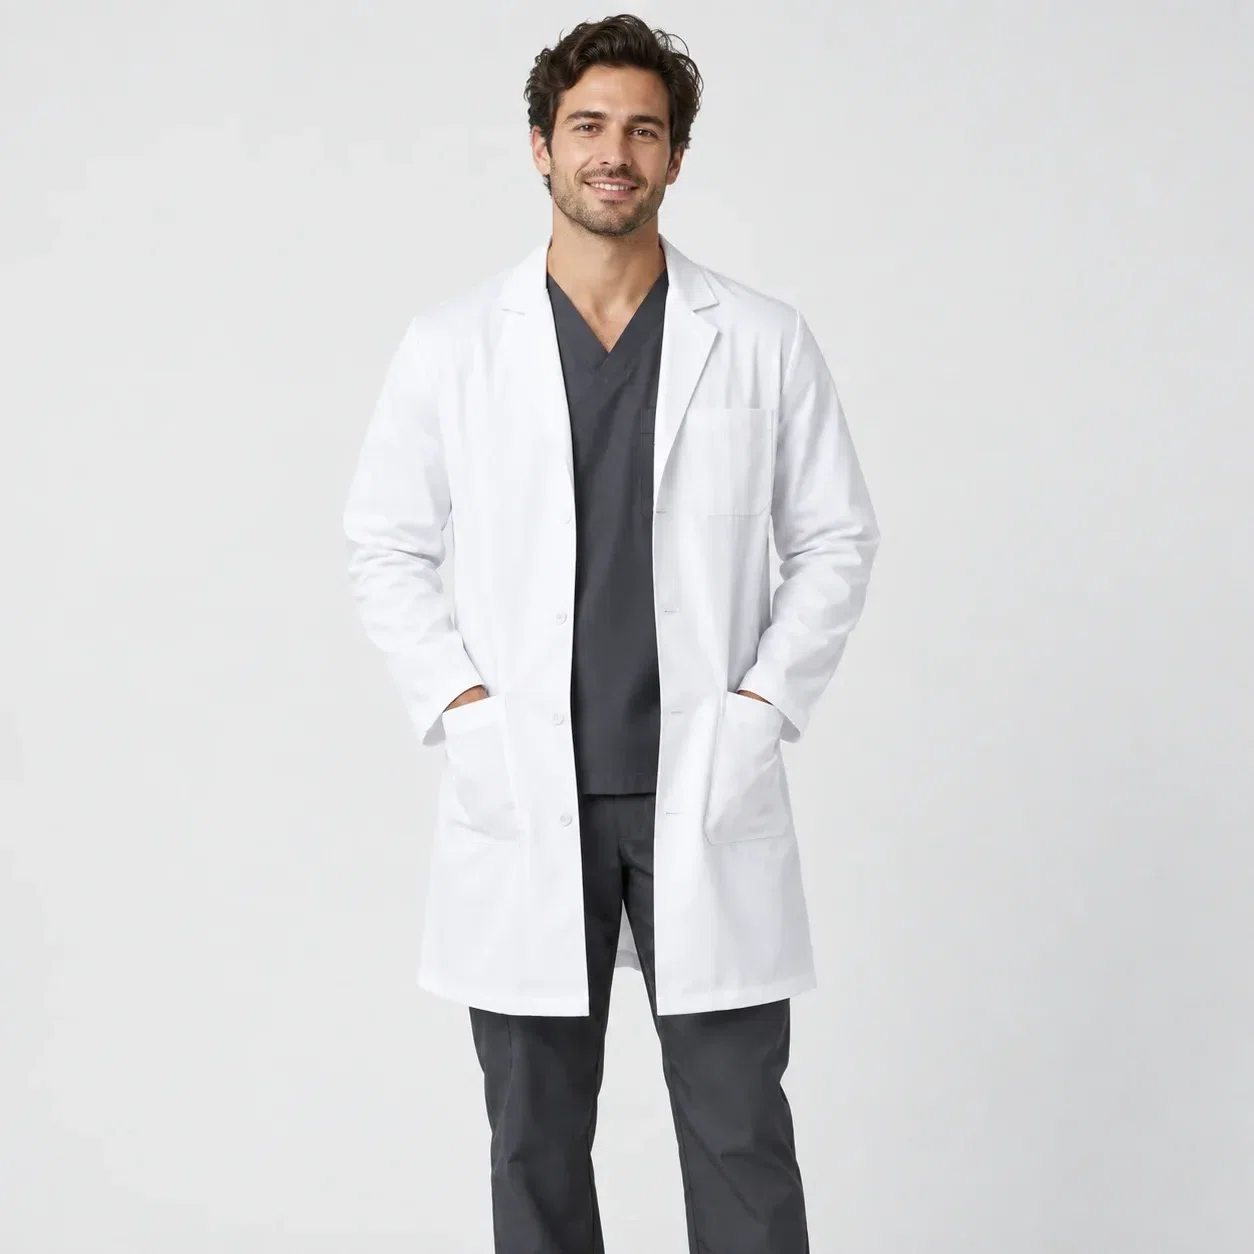
A healthcare uniform order can include scrubs, lab coats and nursing apparel for different roles. Start with the staff who will wear each item, the room or service they work in, and the garment they need. A dental assistant, front-desk employee and outpatient nurse may all wear a clinic colour without needing the same neckline or pocket layout. If coats or jackets are part of the brief, list them as separate garments with their own sizes. The healthcare uniform collection gives a wider view of available product categories; the final quote identifies the exact styles and minimums proposed for your team.
Ask each department to review its garment choice before you consolidate the order. This is especially useful when a practice has multiple sites: a single logo can tie the programme together while each location has a different garment mix. Write down which colours represent a clinical role and which are simply a preference. If a colour is used for identification, approve the reference on the garment and on the mockup; a colour name alone may leave room for interpretation.
Approve logo, names and department identifiers
Send the final logo file and state its intended size and position on each garment. For named uniforms, provide the spelling, role and any credentials exactly as they should appear. Separate those details from the general department list; names can change even when the logo stays the same. Review the mockup against the roster, especially where one colour serves several roles. Embroidery, screen printing, sublimation and other methods can be considered, but the selected garment and artwork determine the workable option.
Ask the person responsible for brand approval to sign off on colour, placement and wording before production starts. If you need a different mark on a coat or jacket, include that variation in the same review. A digital mockup helps you identify layout issues; a requirement for physical samples should be raised in the quote request because it can affect cost and timing. Store the approved files so a later order does not rely on an old screenshot.
Match material information to the selected product
Describe how each healthcare garment will be worn and cared for. A clinic may care about garment weight, stretch, pocket use or its laundering process, but those details must be checked against the selected style and its available fabrics. Ask for the composition and care information for the particular product in the quote. Many materials and blends can be considered to customer demand; a broad material label by itself does not establish durability, fluid resistance or another measured property.
If your purchasing policy names a performance standard, send the exact requirement before approving a garment. Request the relevant product documentation and check it against your policy. Do not treat ordinary scrubs as protective equipment simply because the wearer works in healthcare. For a coat, gown or other specialised item, identify the intended task and the evidence you need. That lets the supplier respond to a defined requirement rather than a vague request for a medical-grade uniform.
Plan delivery by destination and approval date
Give the full US delivery address and ZIP code, the quantity for that destination and the date the garments are needed. For multiple locations, provide a separate split for each address. The usual one-to-two-week delivery window is an estimate, not a promise for an unapproved design or an unspecified route. Ask the quote to separate any production assumptions from the confirmed shipping plan. Artwork changes, new sizes or a later approval can alter the date, so settle those decisions before sharing an opening or staff-start deadline.
Both seller-paid and buyer-paid duties and taxes can be offered. Make the selected arrangement explicit in the quote, along with the delivery point and the party responsible for any import charges. Full payment is required in advance. Bank wire is preferred; Western Union and MoneyGram are available for smaller payments. If your finance team needs an invoice reference or specific beneficiary details, request them through the normal quote process and verify payment instructions directly before transfer.